
Exercise: Creating a simple alert
Prerequisites
Before beginning, please read this article on setting up your environment for course exercises. This brief article is necessary to understand the requirements below:
- This course includes a series of exercises that are intended to be followed in order. Steps from one exercise may produce a result expected in a future exercise.
- These exercises require you to be logged in to a Quantcha account. However, you do not need to subscribe to complete them. A free Evaluation account (the default account after registering) is fine. Just be sure to register with an email address you have access to since that’s where notifications will be sent.
- It is recommended that you remain logged in to Quantcha Docs (this site) in order to track progress. Accounts on quantcha.com and docs.quantcha.com are separate and unrelated.
Scenario
The exercises in this course focus on setting up specific notifications using Quantcha Alerts. They will generally cover simple scenarios designed to illustrate successful notifications. However, you can easily extend or extrapolate the exercises to meet more sophisticated needs.
Opening Quantcha Alerts
There are several ways to get to Quantcha Alerts. In this exercise, you will use the Quantcha Options Suite dashboard to get to your alerts management page.
The dashboard is the default landing page. It provides a starting point to access key functionality, including your portfolio, screeners, charts, and more. If you are not on the dashboard, you can always use the Dashboard link at the top of the window to get there.

Locate the section that says I want to manage my alerts and click Go To My Alerts.
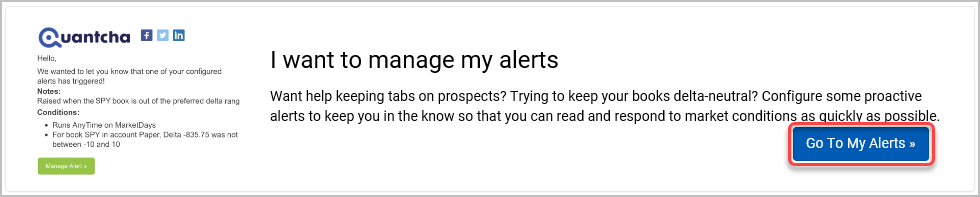
You see the alert management page. Note that the URL for this view is https://quantcha.com/OSE/#/Alerts. You can create a bookmark for this page if you need to visit often.
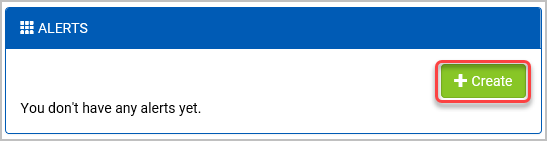
At first you won’t have any alerts. Don’t worry, creating them is really easy. In fact, there are shortcuts throughout Quantcha to help you create context-sensitive alerts, such as from a stock overview page, the portfolio tracker, or the order page. But for your first alert, we’ll create one from scratch.
Click Create to create an alert.
The alert editor provides a straightforward form you can use to define the properties of your alert. As discussed in an earlier topic, you will need to define metadata, one or more conditions, and a post-trigger action. Start off by setting up the metadata.
For Title, enter “My first alert”.
For Notes, enter “Triggers immediately”.
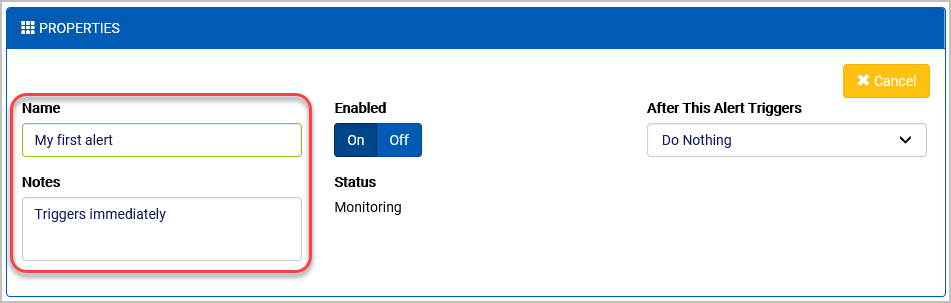
By default, alerts are Enabled. That means they will be regularly evaluated by Quantcha Alerts once you save it. If you would like to set up an alert that you don’t need to use just yet, you should disable it before saving for the first time.
Next you define what should happen after the alert triggers. Since this is a simple test, you can do nothing, which will leave the alert in a “triggered” state until you manually reset it.
For After This Alert Triggers, select “Do Nothing”.
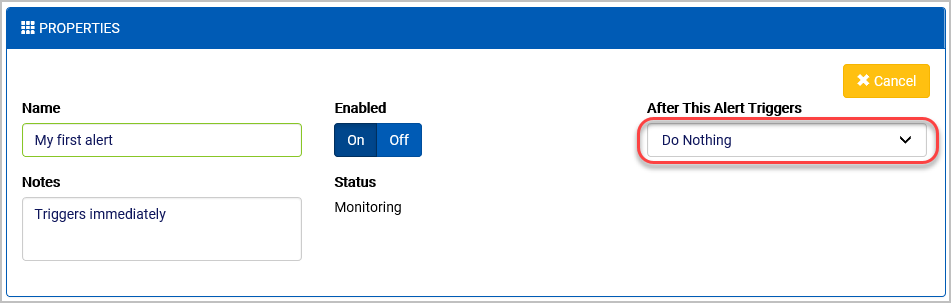
If this were an alert you would want to run on a regular schedule, such as one that monitors your portfolio, you could instruct it to automatically reset after a certain number of days. On the other hand, if your alert was intended for one-time usage, such as for tracking the fill of a specific order, you could instruct the alert to delete itself after triggering.
The final part of the process is to define one or more conditions for the alert to evaluate. When there are multiple conditions, each must evaluate as true in order for the alert to trigger. In other words, they are all joined with an “AND” clause.
To illustrate a very simple scenario, you now create a condition that will always evaluate to true.
Select Add Another Condition.

Select the Day and time condition type.
For Days, select Every Day.
For Times, select Any Time.
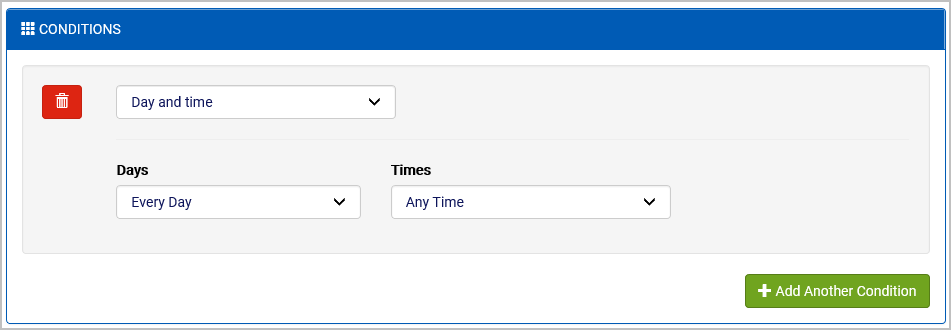
This might not seem like a very useful alert, but that’s on purpose. We’re just trying to generate a notification so you can see how easy the whole process is. However, the Day and time condition is very useful when used in combination with other conditions. It allows you to only evaluate alerts on certain days or at certain times in order to optimize the notifications you receive.
Click Save to save the alert.
After saving the alert, you will return to the alerts landing page.
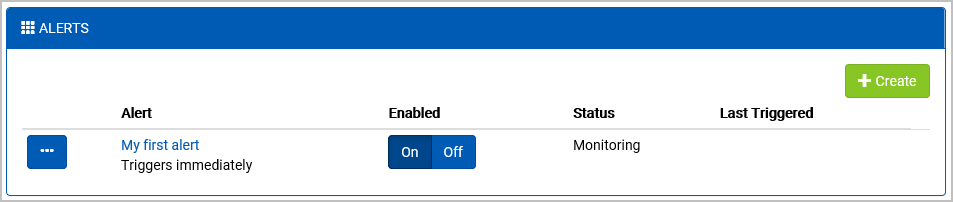
The alert has been saved and will be evaluated during the next service pass (its Status is “Monitoring”). This should take less than five minutes, so keep an eye on your email.
Open and review the alert email one you receive it.
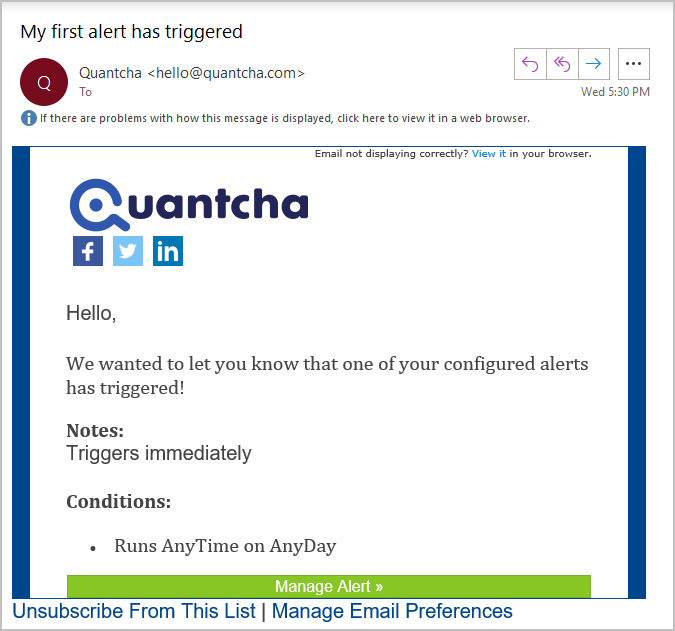
The alert email includes the title of your alert in the subject. In the body it includes your notes and a brief list of condition evaluation results to remind you of what the alert was configured to check.
Return to the browser tab open to Quantcha.
After you saved the alert earlier, Quantcha returned you to the alerts overview page. This page lists all of your alerts with some convenient shortcuts, as well as details about when the alert was last evaluated and/or triggered.
Refresh the browser tab to get the latest status of your alerts.
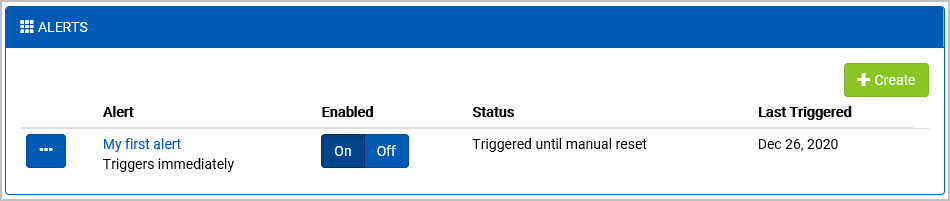
Since the alert that just triggered was configured to do nothing, it will have the Status “Triggered until manually reset”. If you wanted to reset the alert to run again now (or tomorrow, or in a few days), you could do so from the dropdown menu.
Review the options in the alert dropdown menu.

In future topics you will create alerts that cover more interesting scenarios.